For this week I will be discussing my final project by, outlining the project, the materials needed, and the processes involved. To see my final project worklog click here. Also check out the Fab Academy provided questions I answers this week here. |
The goal of this project is to create a unique DIY piece of furniture that has an application for me and many others, similar to the project done by Wendy in her 2013 Fab Academy final project. I would like to create a desk that catters to the maker community and creates an appealing workspace for people like me. To achieve this I would like this desk to have adjustable hight so the user can sit or stand comfortably regardless of hight. I would also like to have workspace ontop of the desk, but the desk should in my opinion center around a computer with little to no clutter due to drawers or shelves of any sort. Ultimately I would like this desk to stand out in a room as a desired, modern workspace perfect for a wide range of users. |
As for the materials, I will have to order the linear actuators online, probably from Amazon, but the rest of the materials are available at local hardware stores. The total cost for all of the part will be, I hope, under $500. Here is a general BOM (Bill of Materials) for my project. |
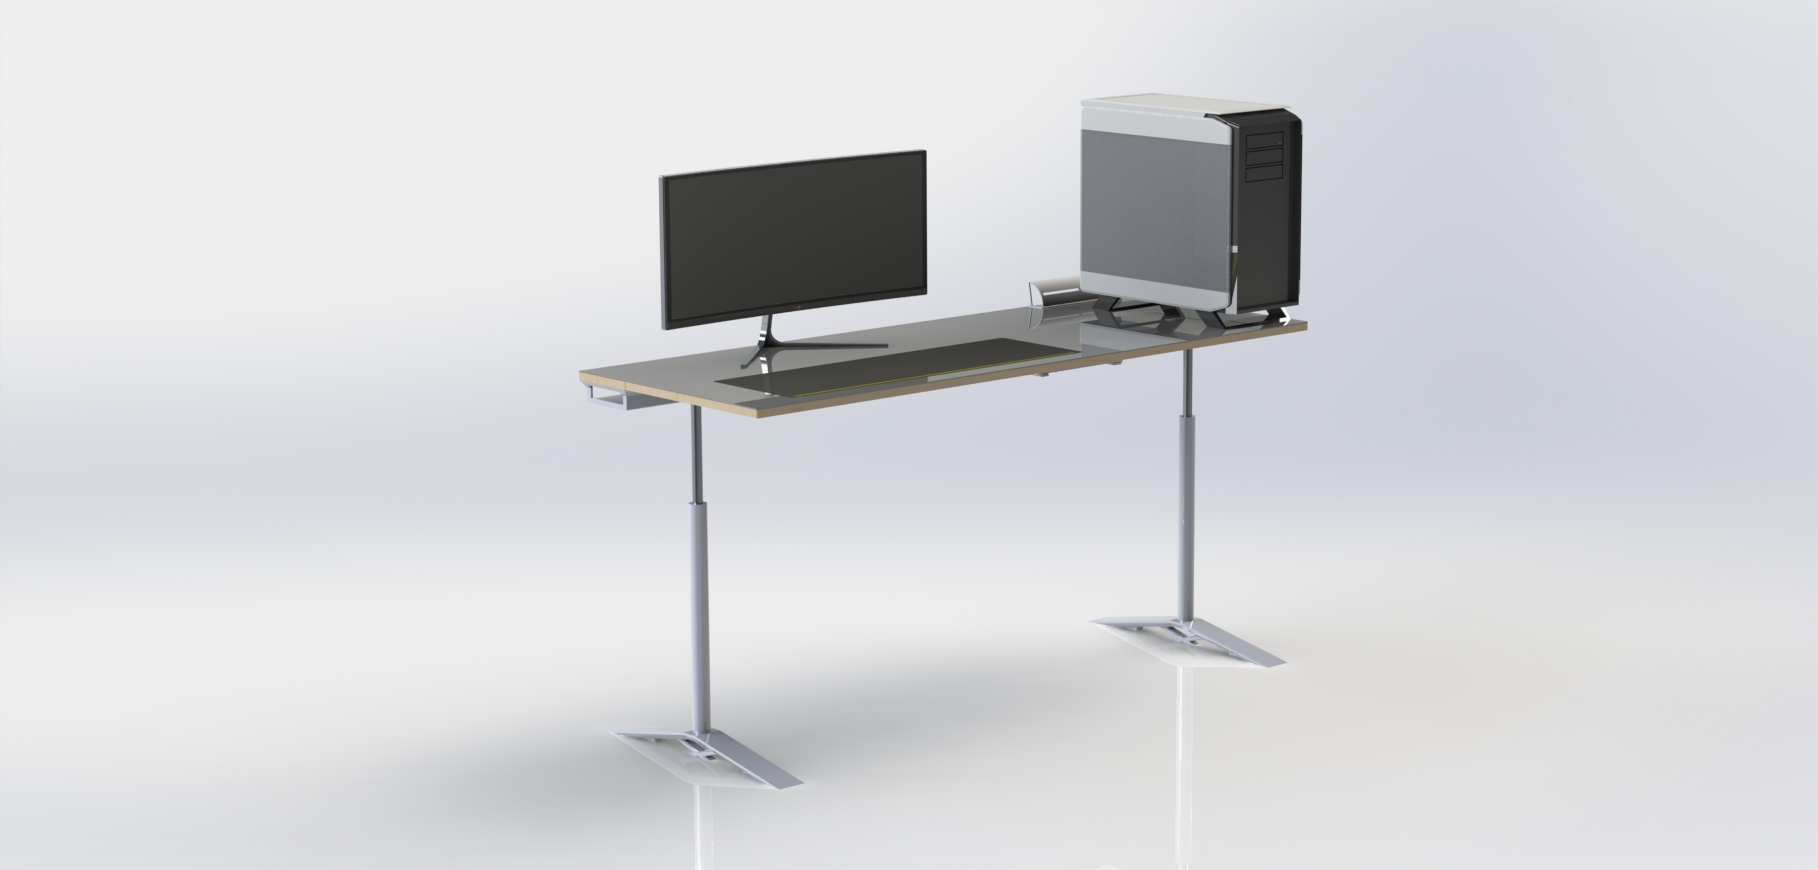
In order to meet my goals as stated above I plan to modify my original desk design as found here. I liked the clean design of the desk as it was originally but I felt the computer case was to dominating. I am changing the design to incorperated a system below the desk on the outside of the right leg to hold a computer case below the desk surface to get it out of the way and create a larger workspace. Doing this the ethernet switch visible behind the case in the picture above becomes too prominent. I moved the switch to completely below the desk so it does not stand out from the smooth finish of the desk surface. Finally, I plan to add a small storage system to the desk. I am not yet sure whether it would be best to make a small drawer below the desk surface or compartments in the back of the desk. |
The next step in my process will be creating the physical desk from my final CAD models. In order to keep the desk strong and rigid I will either mill or caste the alluminum legs of the table. The linear motion will come from purchased linear slides. From there I will CNC the surface of the desk. The surface will consist of a layer of wood ~3/4" and a 1/4" - 1/8" heat resistant smooth plastic. Next I will 3d print the cable manegment system slightly visible on the left of the desk in the image above. I will also need to print a mounting and housing system for the electronics. As for manufacturing of the electronics themselves I plan to mill the motor controler and power distribution modules to power and control the linear actuators. I will also need to create a small circuit board that will be visible on the front of the desk to allow the user to adjust the desk to any desired hight. Finally I will purchase and add an extended mousepad and ethernet switch to the desk so it is ready for my computer. |
The software for this project should be relatively simple, but I would like to make sure that the software interface is smooth and enjoyable. I want to have the option for the user to make pre-set heights for the desk, one for sitting and one for standing that can be saved. If I have enough time I also plan to make a simple app of some sort to interface the users phone with the desk as another option for adjusting height and saving height profiles. |
Once I complete my physical project I plan to test it out right away and determine what I could do to improve it in the future. Then I will make all of the plans, software, and CAD models available so others can repeat my project. I would also like to, at some point in the future, improve the desk design and make another itteration for myself and others to enjoy. |
Click here to see my project plan, outline, and worklog. At the bottom of the page I in the link you can also find all of the dowloads for my final project. |